
For renovations and extensions
A renovation moves fast, and the room you started with disappears the day demolition starts. Plumb Daily is a renovation progress photo app that gives each room its own scene. Every photo lines up with the first, so your before and after actually match.
- No account
- No ads
- No tracking
- Photos processed on your device
This page covers what to record, where to stand while the room changes and how often to shoot. It also shows how to make a clean before and after.
Take the key photo before anything moves
The first photo in a scene is the key photo – the one every later photo lines up with. For a renovation, that's your before photo. Take it while the room is still untouched, before the first cupboard comes off the wall.
Already started? You can add photos you took earlier with the Camera app from your library. They land on their original dates.
What to record
- The before – the room as it is today, with the clutter cleared.
- Demolition and strip-out – old cabinets, tiles and linings coming out.
- Rough-in – new plumbing and wiring in open walls. Get a clear photo before the walls close up.
- Walls, floors and ceilings going back on.
- Cabinetry, tiling, benchtops and fittings.
- The finished room – the last coat of paint, and the room set up the way you'll live in it.
For an extension, add an outside scene too, from the back fence or a corner of the yard. It behaves like a small new build, so the stage-by-stage tips for home builders apply.
One scene per room
Give each room its own scene, with its own key photo, lens and orientation. You can have as many scenes as you like.
- Portrait suits tall, narrow spaces such as a bathroom or hallway.
- Landscape suits a kitchen, a living area or the back of the house.
- Orientation locks per scene. The shutter won't fire while the phone is turned the wrong way, so a portrait bathroom stays portrait.
Where to stand in a room that's changing
- Use a doorway or corner that's staying. If a wall is coming out, don't use it as your reference.
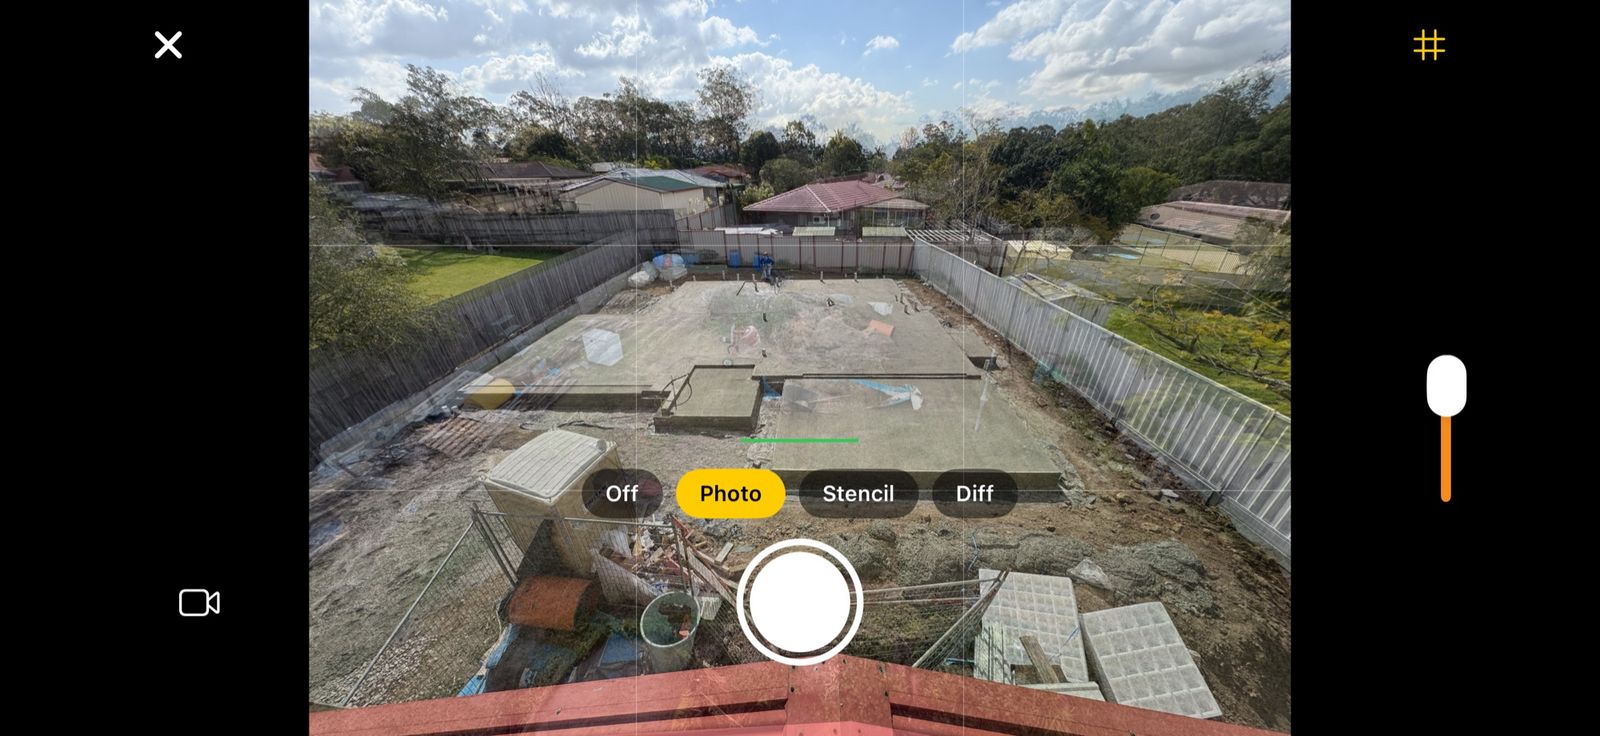
- Line up with something fixed. A window frame or a ceiling corner that isn't changing gives you a landmark. The overlay and stencil help with the fine alignment.
- Hold the phone at the same height each time. Chest height is easy to repeat. The spirit level shows when the phone is level.
- Think about the lens. The ultra-wide lens fits a small room, but it bends straight lines near the edges. You choose it before the key photo, and it locks for the scene.
When and how often to shoot
- At the end of each work day. The trades have packed up and the room is as clear as it gets.
- Match the light. Window light changes through the day, so shoot at a similar time and turn on the same lights each time.
- Daily in the busy weeks, every few days in the slow ones. Demolition and installation weeks change fast. While you're waiting on benchtops or tiles, a photo every few days is enough.
- Record the big moments. The old wall coming down or the benchtop going in makes a good moment. Moments recorded in the app are video only, without sound. If you want the sound, film it with the Camera app and add it from your library – videos you add keep their sound.
The light will still change as walls open up and windows get covered. On the Mac, the export studio's smooth exposure setting evens out bright and dull days, so the video doesn't flicker.
A before and after that actually match
Because every photo comes from the same spot, with the same lens and zoom, your before and after line up. You can compare them in 3 ways.
- In the viewfinder. The difference view shows what has moved since the key photo.
- On the Mac. Compare shows any 2 days side by side or as a wipe you drag across. It can also show them as an onion skin (one photo over the other, partly see-through) or a difference view. You can lay the stencil over them too.
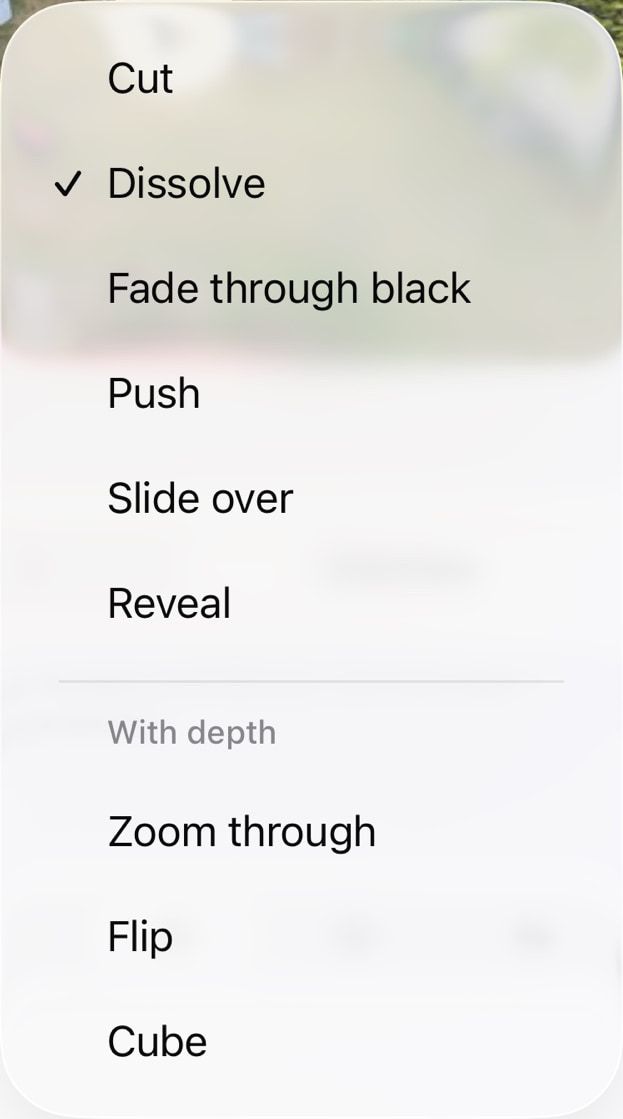
- As a short video. Leave out every photo except the first and last, then export a slideshow with a reveal or dissolve transition. Leaving a photo out doesn't delete it, so you can include the others again afterwards. On the Mac, you can select a run of photos and leave them all out in one go.
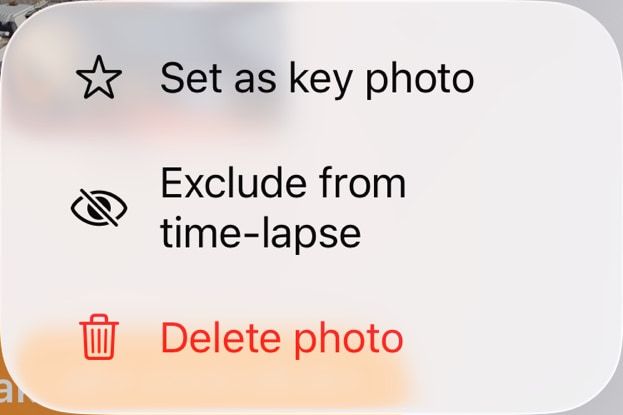
Photos you add from your library may not line up exactly with the key photo. On the Mac, Align All lines every photo up with the key photo and flags any it can't match confidently. The nudge editor lets you move, turn or scale a photo by hand.
The features that matter most for a renovation
- A scene per room, each with its own key photo and locked lens.
- The see-through overlay and stencil, for lining up window frames and ceiling corners.
- The difference view, to check what has changed.
- Moments for the big days, trimmed without changing the original.
- Leave a photo out of the video without deleting it.
- Compare and Align All on the Mac.
- Time-lapse or slideshow export, with transitions between slideshow photos and an optional slow push-in.
See how Plumb Daily's framing guides work. The Mac app's Compare and Align All tools are covered on their own page. The same App Store listing covers iPhone and Mac.
Example: an 8-week kitchen renovation
This is a made-up example to show how the routine fits together.
Say you're replacing a tired galley kitchen. The work is booked for 8 weeks, and you're living in the house the whole time.
The evening before demolition, you stand in the doorway from the dining room. You pick the ultra-wide lens so both benches fit, turn the phone to landscape and take the key photo. You note where the window frame sits in the shot, since the window is staying.
In the first week, you take a photo each evening and record a moment as the overhead cupboards come down. In weeks 2 and 3, the plumber and electrician rough in, and you get clear photos of the open walls. Weeks 4–6 bring plastering, cabinets and a quiet stretch waiting for the stone benchtops, so you drop back to a photo every few days. Weeks 7 and 8 bring the splashback, fittings and paint.
You end up with about 30 photos. As a slideshow, with each photo held for one second and a dissolve between them, the video runs about 30 seconds, plus the moment. Then you leave out everything except the first and last photos, and export a second slideshow with a reveal transition. That short before and after is the one you send to friends.
Months later, you open Compare on the Mac. You set the photo taken before the plasterboard went up against the finished wall as an onion skin. Now you know where the pipes run before you drill.
Your home, kept private
There's no account, no ads and no tracking. Plumb Daily has no servers, so photos of the inside of your home never go to the developer. They sync through your own iCloud, where only you can see them.
Plumb Daily is made in Australia by Matthew Sweet, who built it to record his own new home build.
Working on something else? See every kind of project Plumb Daily suits.
Planning a renovation?
You're on the list
You'll get one email when Plumb Daily is on the App Store. There's nothing else you need to do.